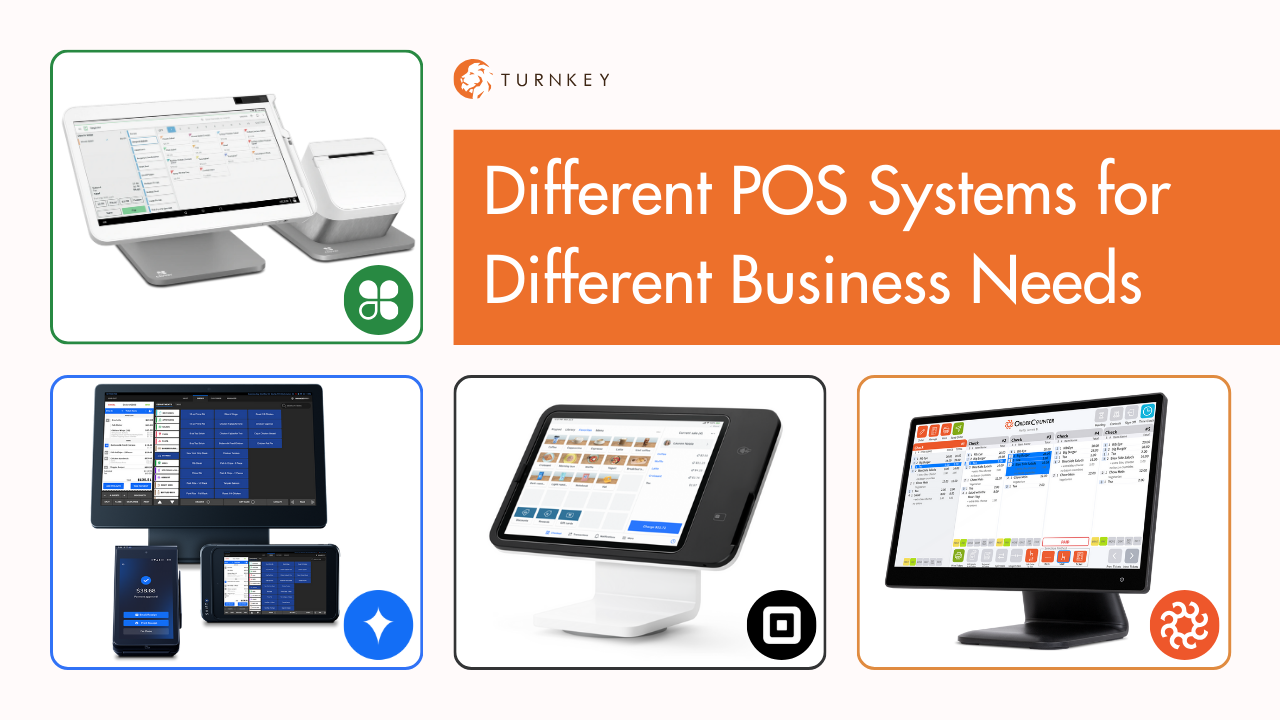
Clover Support – How to fire orders to the kitchen
Turnkey Processing
Effective and organized order management is essential for ensuring the seamless functioning of any restaurant. The introduction of technologically advanced POS systems such as Clover has dramatically improved the process of managing and communicating orders to the kitchen, making it more efficient and streamlined.
Clover Printer Setup: What You’ll Need
When you receive your clover system, it will include the printer. Your printer comes with paper and a 5 foot power cable. Here’s what else you’ll need:
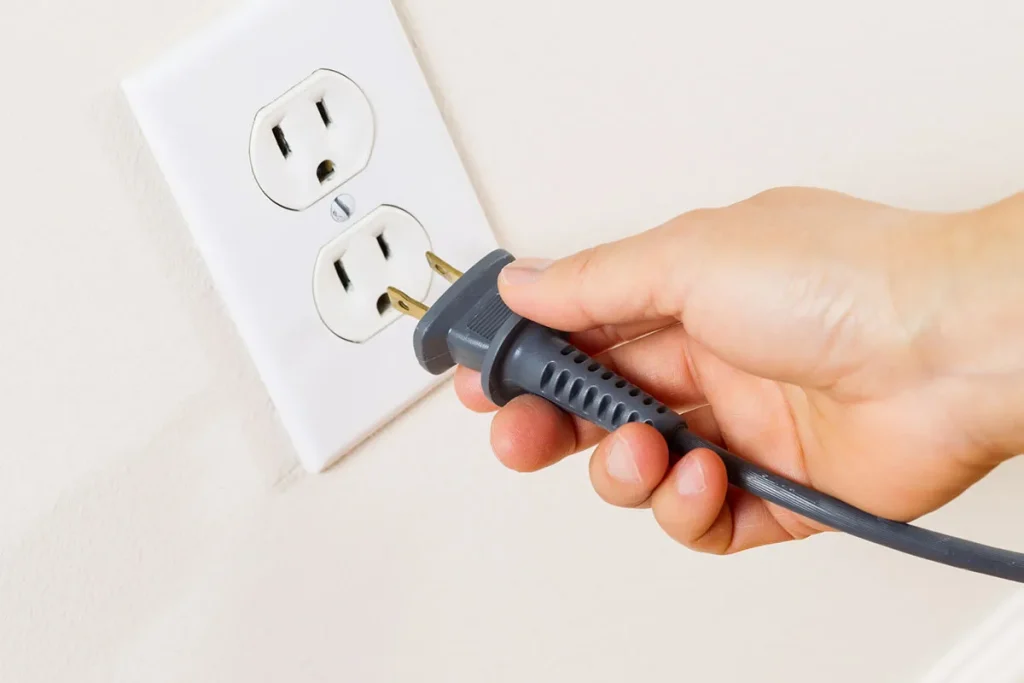
Power Outlet
An internet source (either your modem or router with an available ethernet connection)
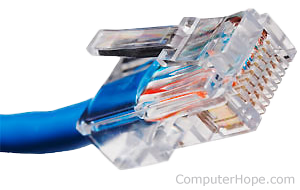
Category 5 (CAT5) Ethernet Cable
Setting up your Clover System Printer
Let’s prepare the Clover system to be fully operational to receive and process orders. Your order printer must be connected to the same router as your clover devices. Now let us set up your printer:
First, connect your ethernet cable to the order printer and the other end to your router or modem
Next, insert your paper roll to your printer
Now, plug the power cable into the bottom of your printer and into your power source
Flip the switch on the side of the printer to the red and yellow lights should slowly blink. When you see a single green light turn on your order printer is communicating with your network
Next, we’ll add the printer to each clover device you want to print orders from on your clover device open the printers app and tap the green plus button then select the order printer you just connected
To confirm that the printer is set up print a test receipt
Final Steps: Ready to Fire Orders
Here are the steps to finally fire orders for your restaurant:
To edit the name of a printer in the printers app tap edit enter the new name then tap save now we’ll assign a label to the items you want to automatically send to the printer
Select inventory then labels and tap the plus icon to add a new label consider using the printer name for the name of the label you can add this label to existing menu items
Tap the pencil icon and select each item you want to label then save last
Assign the label to your printer open the printers app and choose the order printer you want to assign the label to
Select the labels you’re assigning to the printer and save and now you’re ready to fire orders
Thank you for your interest in referring business to Turnkey. We want to be able to provide the same amazing service and support to your business friends and networks, and pay rewards for every new client.
Let us know you are interested and we can text, call, or visit in person with the details!
We use cookies to ensure that we give you the best experience on our website. If you continue to use this site we will assume that you are happy with it.